Imagine troubleshooting your Pi without being physically present or deploying updates to your IoT devices while on vacation. Remote access makes all this and more possible, giving you the freedom to work efficiently and effectively. To achieve this, you'll need to understand the tools and techniques that make remote access secure and reliable. Whether you're using SSH, VNC, or cloud-based solutions, each method has its own advantages and use cases. For instance, SSH is lightweight and perfect for command-line operations, while VNC provides a graphical interface for users who prefer a desktop experience. By mastering these methods, you can unlock the full potential of your Raspberry Pi and streamline your workflow. In this article, we'll delve into the various ways to access your Raspberry Pi remotely, ensuring you have all the tools you need to succeed. Before diving into the technical details, it's important to understand the prerequisites for remote access. You'll need a stable internet connection, the correct software installed on your Pi, and a basic understanding of networking concepts. Additionally, securing your Pi is crucial to prevent unauthorized access. By following best practices such as changing default passwords, enabling firewalls, and using encryption, you can ensure your remote access setup is both robust and secure. With these foundations in place, you'll be well-equipped to explore the myriad possibilities of remote access.
Table of Contents
- What is Raspberry Pi and Why Remote Access Matters?
- How to Access Raspberry Pi Remotely Using SSH?
- Is VNC the Right Choice for Remote Access?
- How to Access Raspberry Pi Remotely Through the Cloud?
- What Are the Best Practices for Securing Remote Access?
- Can You Access Raspberry Pi Remotely Without a Static IP?
- Troubleshooting Common Issues with Remote Access
- Frequently Asked Questions About Remote Access
What is Raspberry Pi and Why Remote Access Matters?
The Raspberry Pi is a compact, affordable, and versatile single-board computer that has captured the imagination of tech enthusiasts worldwide. Designed by the Raspberry Pi Foundation, this device is widely used for educational purposes, DIY projects, and even professional applications. With its ability to run a full Linux operating system, the Raspberry Pi serves as a powerful tool for learning programming, experimenting with electronics, and building innovative solutions.
Remote access is particularly important for Raspberry Pi users because it allows them to manage their projects without being physically present. For example, if you're running a web server or a home automation system on your Pi, remote access enables you to monitor and control it from anywhere. This flexibility is invaluable, especially when you're away from home or working on multiple projects simultaneously. By accessing your Pi remotely, you can save time, reduce physical constraints, and enhance productivity.
Read also:What Are 1blasters And Why Should You Care
Moreover, remote access is essential for troubleshooting and maintenance. If your Pi encounters an issue, you can log in remotely to diagnose and resolve the problem without needing to be near the device. This capability is particularly useful for users who deploy their Pis in hard-to-reach locations, such as behind walls or in remote areas. By mastering remote access techniques, you can ensure your Raspberry Pi remains a reliable and efficient tool for all your projects.
How to Access Raspberry Pi Remotely Using SSH?
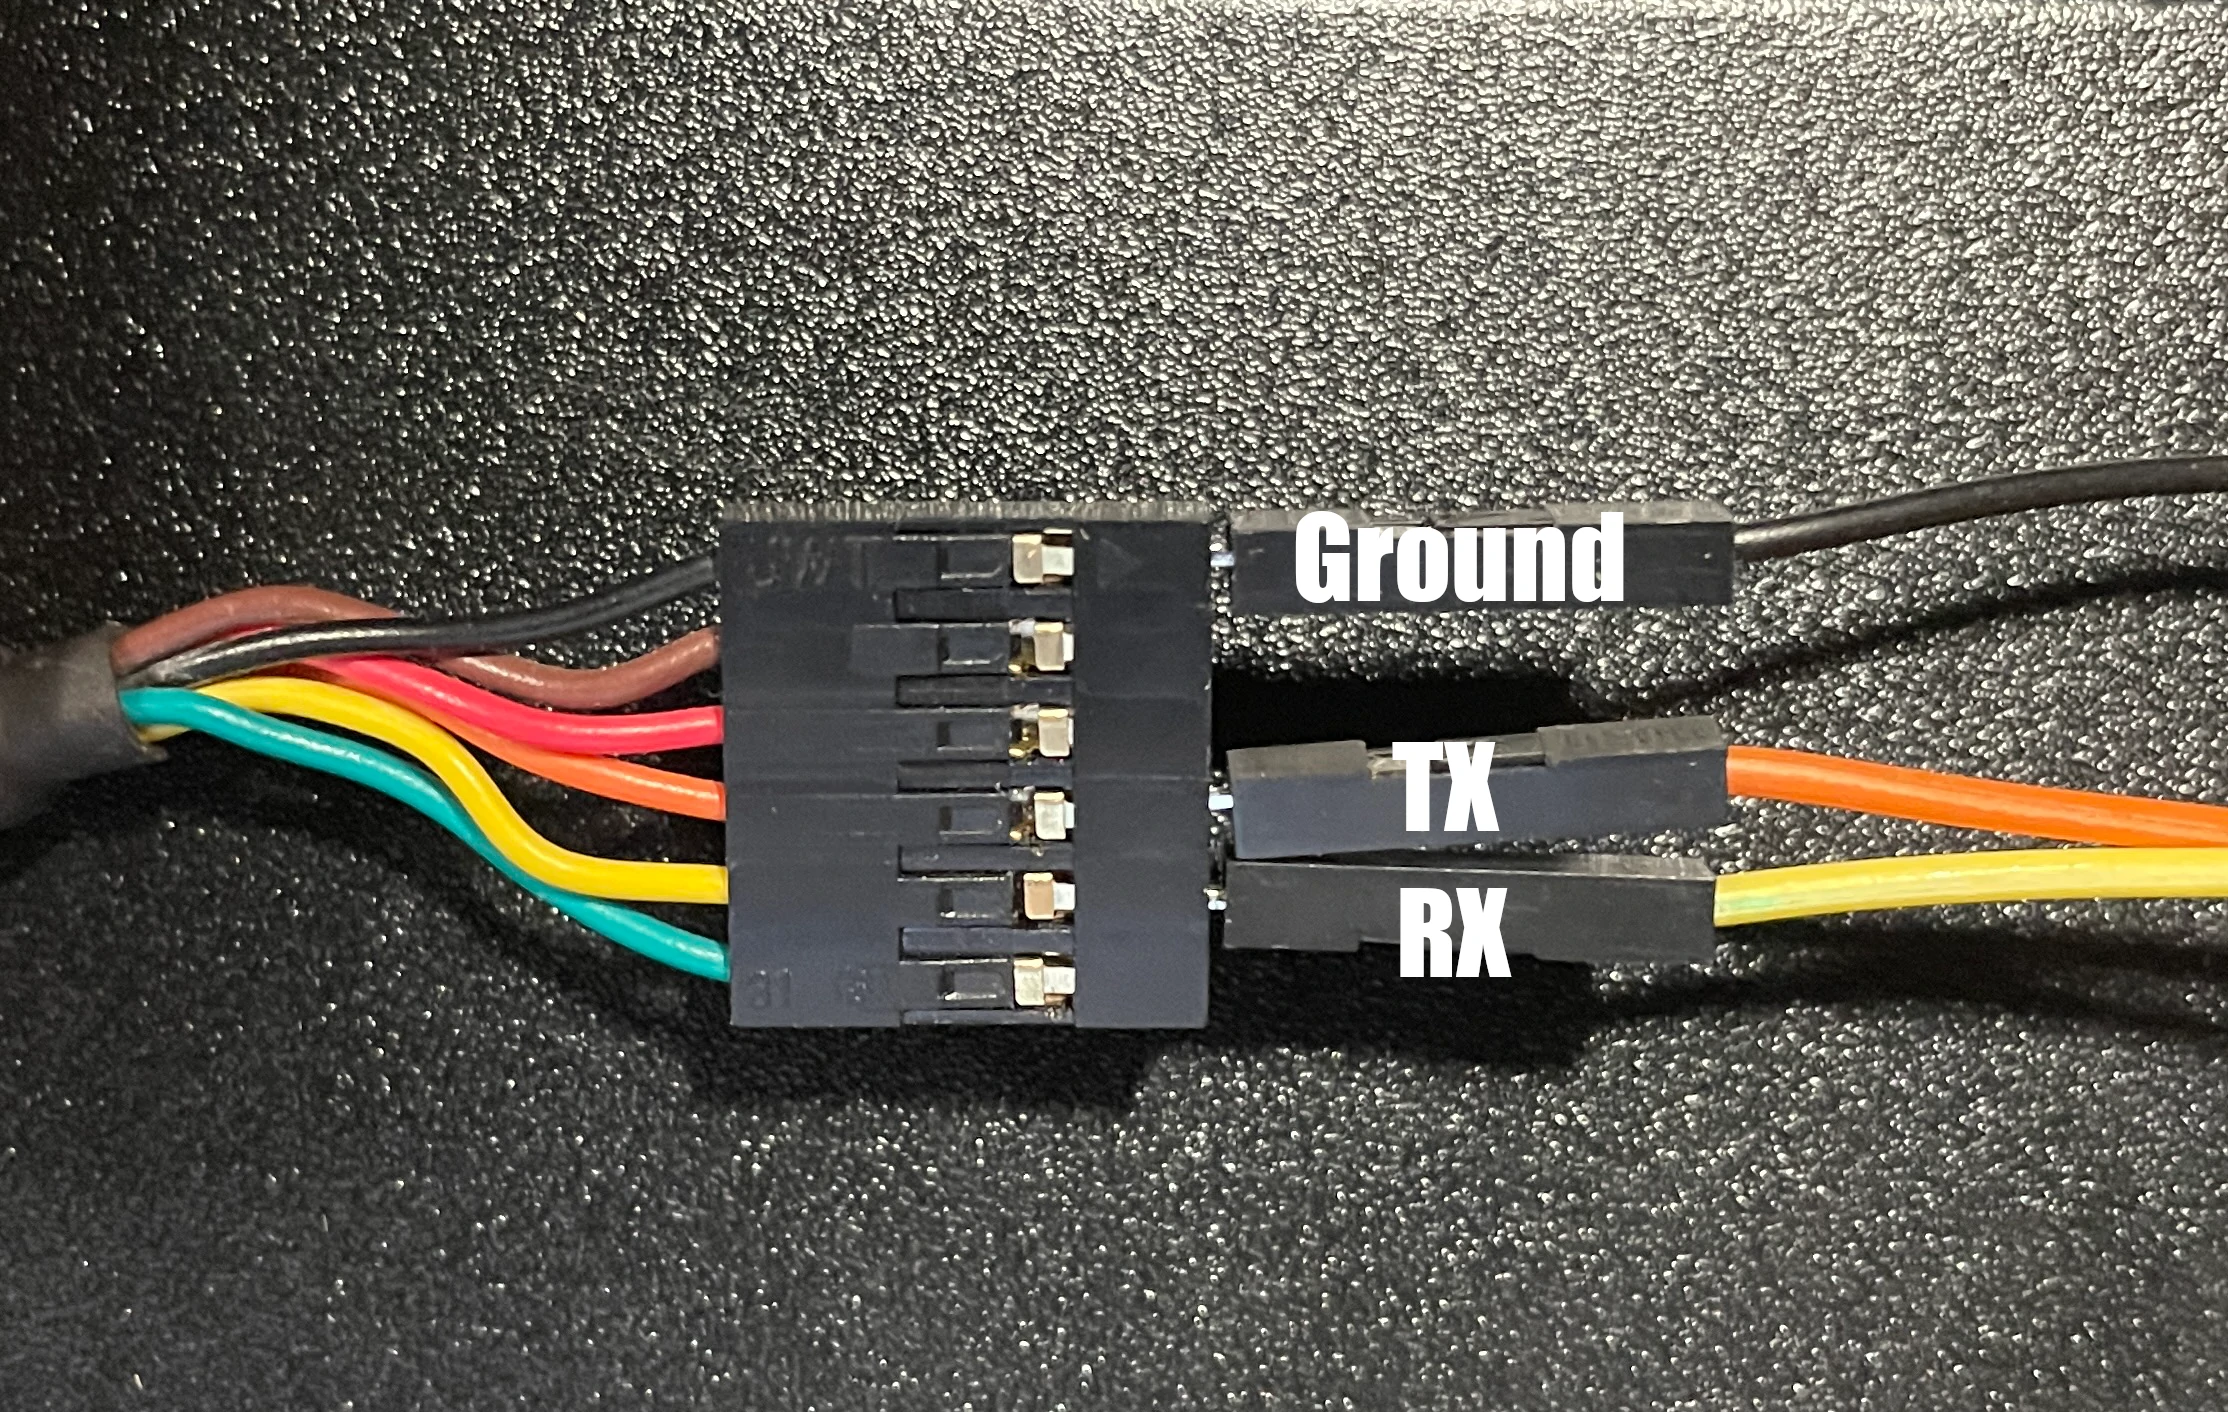
SSH, or Secure Shell, is one of the most popular methods for accessing a Raspberry Pi remotely. It provides a secure, encrypted connection that allows you to control your Pi via the command line. This method is lightweight, fast, and ideal for users who are comfortable with terminal-based operations. Whether you're running updates, transferring files, or managing services, SSH offers a reliable way to interact with your Pi from any device.
Setting Up SSH on Your Raspberry Pi
To enable SSH on your Raspberry Pi, you'll need to follow a few simple steps. First, ensure that your Pi is running the latest version of the operating system. You can do this by running the following commands in the terminal:
sudo apt update sudo apt upgradeOnce your system is up to date, you can enable SSH by using the Raspberry Pi configuration tool. Open the terminal and type:
sudo raspi-configNavigate to "Interfacing Options," select "SSH," and choose "Yes" to enable it. Alternatively, you can create an empty file named ssh in the boot partition of your Pi's SD card. This file will automatically enable SSH when the Pi boots up.
Connecting to Your Pi via SSH
After enabling SSH, you can connect to your Pi from another device using an SSH client. On Windows, you can use tools like PuTTY, while macOS and Linux users can use the built-in terminal. To connect, you'll need the IP address of your Pi, which you can find by running:
Read also:Understanding Carls Death In The Walking Dead A Deep Dive Into The Impact And Legacy
hostname -IOnce you have the IP address, open your SSH client and enter the following command:
ssh pi@your_pi_ip_addressReplace your_pi_ip_address with the actual IP address of your Pi. You'll be prompted to enter the default password (raspberry), which you should change immediately for security reasons. With SSH set up, you can now manage your Pi remotely with ease.
Is VNC the Right Choice for Remote Access?
VNC, or Virtual Network Computing, is another popular method for accessing your Raspberry Pi remotely. Unlike SSH, which provides a command-line interface, VNC offers a graphical desktop experience. This makes it an excellent choice for users who prefer a visual interface or need to run applications that require a GUI. With VNC, you can interact with your Pi as if you were sitting in front of it, making it a versatile tool for remote access.
Installing VNC Server on Raspberry Pi
To use VNC, you'll first need to install a VNC server on your Raspberry Pi. The most commonly used VNC server is RealVNC, which is included in the Raspberry Pi OS. To install it, open the terminal and run:
sudo apt update sudo apt install realvnc-vnc-server realvnc-vnc-viewerOnce installed, you can enable the VNC server by using the Raspberry Pi configuration tool:
sudo raspi-configNavigate to "Interfacing Options," select "VNC," and choose "Yes" to enable it. Alternatively, you can enable VNC through the desktop interface by clicking on the VNC icon in the taskbar and selecting "Enable."
Connecting to Your Pi with VNC Viewer
To connect to your Pi using VNC, you'll need to install a VNC viewer on your remote device. RealVNC offers free viewers for Windows, macOS, and Linux, as well as mobile apps for Android and iOS. Once installed, open the VNC Viewer and enter the IP address of your Pi in the connection dialog. You'll be prompted to enter your Pi's username and password, after which you'll gain access to the graphical desktop.
VNC is particularly useful for tasks that require a GUI, such as configuring settings, running graphical applications, or troubleshooting issues. However, it consumes more bandwidth than SSH, so it may not be ideal for low-bandwidth connections. By understanding the strengths and limitations of VNC, you can determine whether it's the right choice for your remote access needs.
How to Access Raspberry Pi Remotely Through the Cloud?
Cloud-based solutions offer another avenue for accessing your Raspberry Pi remotely. Services like ngrok, Dataplicity, and Weaved allow you to create secure tunnels to your Pi, bypassing the need for a static IP address or complex network configurations. These tools are particularly useful for users who want a hassle-free setup or need to access their Pi from outside their local network.
For example, Dataplicity provides a simple web interface for managing your Pi. After installing the Dataplicity agent on your Pi, you can access it through a unique URL provided by the service. This eliminates the need to configure port forwarding or deal with dynamic IP addresses. Similarly, ngrok creates a secure tunnel to your Pi, allowing you to access it via a public URL. These cloud-based solutions are ideal for users who want a plug-and-play experience without delving into the technical details.
While cloud-based solutions are convenient, they may come with limitations such as subscription fees or reduced control over your Pi's configuration. However, for many users, the trade-offs are worth the simplicity and reliability these services provide. By exploring cloud-based options, you can find a solution that aligns with your needs and preferences.
What Are the Best Practices for Securing Remote Access?
Securing your Raspberry Pi is crucial when enabling remote access. Without proper precautions, your Pi could become vulnerable to unauthorized access, data breaches, or malicious attacks. By following best practices, you can ensure your remote access setup is both robust and secure.
First and foremost, change the default username and password of your Pi. The default credentials (pi and raspberry) are widely known and can be easily exploited by attackers. You can change the password by running:
passwdAdditionally, consider creating a new user account with administrative privileges and disabling the default pi account. This adds an extra layer of security to your Pi.
Another important step is enabling a firewall to restrict incoming connections. You can use tools like ufw (Uncomplicated Firewall) to manage your firewall rules. For example, to allow SSH connections while blocking other traffic, you can run:
sudo ufw allow ssh sudo ufw enableFinally, use encryption and strong authentication methods to protect your data. For SSH, consider using key-based authentication instead of passwords. This involves generating an SSH key pair and copying the public key to your Pi. By implementing these best practices, you can safeguard your Pi and enjoy peace of mind while accessing it remotely.
Can You Access Raspberry Pi Remotely Without a Static IP?
One common challenge for remote access is the lack of a static IP address. Most home internet connections use dynamic IP addresses, which can change periodically and make it difficult to connect to your Pi. Fortunately, there are several solutions to this problem, allowing you to access your Pi remotely without a static IP.
One approach is to use a Dynamic DNS (DDNS) service. DDNS maps a domain name to your Pi's dynamic IP address, ensuring that you can always reach it using the same domain. Services like No-IP and DuckDNS offer free and paid plans for setting up DDNS. To use DDNS, you'll need to install a client on your Pi that updates the DNS record whenever your IP address changes.
Another solution is to use cloud-based tools like ngrok or Dataplicity, as mentioned earlier. These services create a secure tunnel to your Pi, allowing you to access it via a public URL. This eliminates the need for a static IP