Creating a stunning DIY ribbon rose bouquet is an art that combines creativity, patience, and a touch of elegance. Whether you're preparing for a special occasion, looking for a heartfelt gift, or simply indulging in a fun crafting project, this step-by-step guide will walk you through the entire process. Ribbon roses are not only beautiful but also versatile, making them perfect for weddings, anniversaries, birthdays, or even home decor. With just a few materials and some dedication, you can craft a bouquet that looks professionally made while adding your personal touch.
What makes this project even more appealing is its accessibility. You don’t need to be an expert crafter to create these charming ribbon roses. All you need are some basic crafting supplies, a willingness to learn, and a bit of imagination. Ribbon roses are cost-effective, eco-friendly, and can be customized to match any color scheme or theme. This guide will delve into the intricacies of crafting each rose, assembling the bouquet, and adding finishing touches that elevate the final product to a whole new level of beauty.
In this comprehensive article, we will explore everything you need to know to create a stunning DIY ribbon rose bouquet. From selecting the right materials to mastering the techniques, we’ve got you covered. By the end of this guide, you’ll not only have a breathtaking bouquet but also the confidence to experiment with new designs. So, let’s dive in and discover how you can bring your creative vision to life!
Read also:Unveiling The Truth Behind Controversial Indian Web Series Are They Worth The Hype
Table of Contents
- What Are the Basics of Ribbon Rose Making?
- How to Select the Right Materials for Your Bouquet?
- Step-by-Step Guide to Making a Ribbon Rose
- How Can You Assemble a Stunning Bouquet?
- What Are the Best Ways to Customize Your Bouquet?
- How to Add Finishing Touches to Your Ribbon Rose Bouquet?
- Common Mistakes to Avoid While Making Ribbon Roses
- Frequently Asked Questions About DIY Ribbon Rose Bouquets
What Are the Basics of Ribbon Rose Making?
Before diving into the step-by-step process, it’s essential to understand the basics of ribbon rose making. Ribbon roses are crafted by folding, twisting, and shaping fabric ribbons into flower-like structures. The technique may seem intricate at first, but with practice, you’ll find it surprisingly simple. The key lies in selecting the right type of ribbon and mastering the folding techniques.
There are various styles of ribbon roses, ranging from classic to modern designs. Some popular styles include the spiral rose, flat rose, and layered rose. Each style requires a slightly different approach, but the foundational principles remain the same. For instance, the spiral rose involves wrapping the ribbon around itself in a circular motion, while the flat rose is created by folding the ribbon into petal shapes and securing them together.
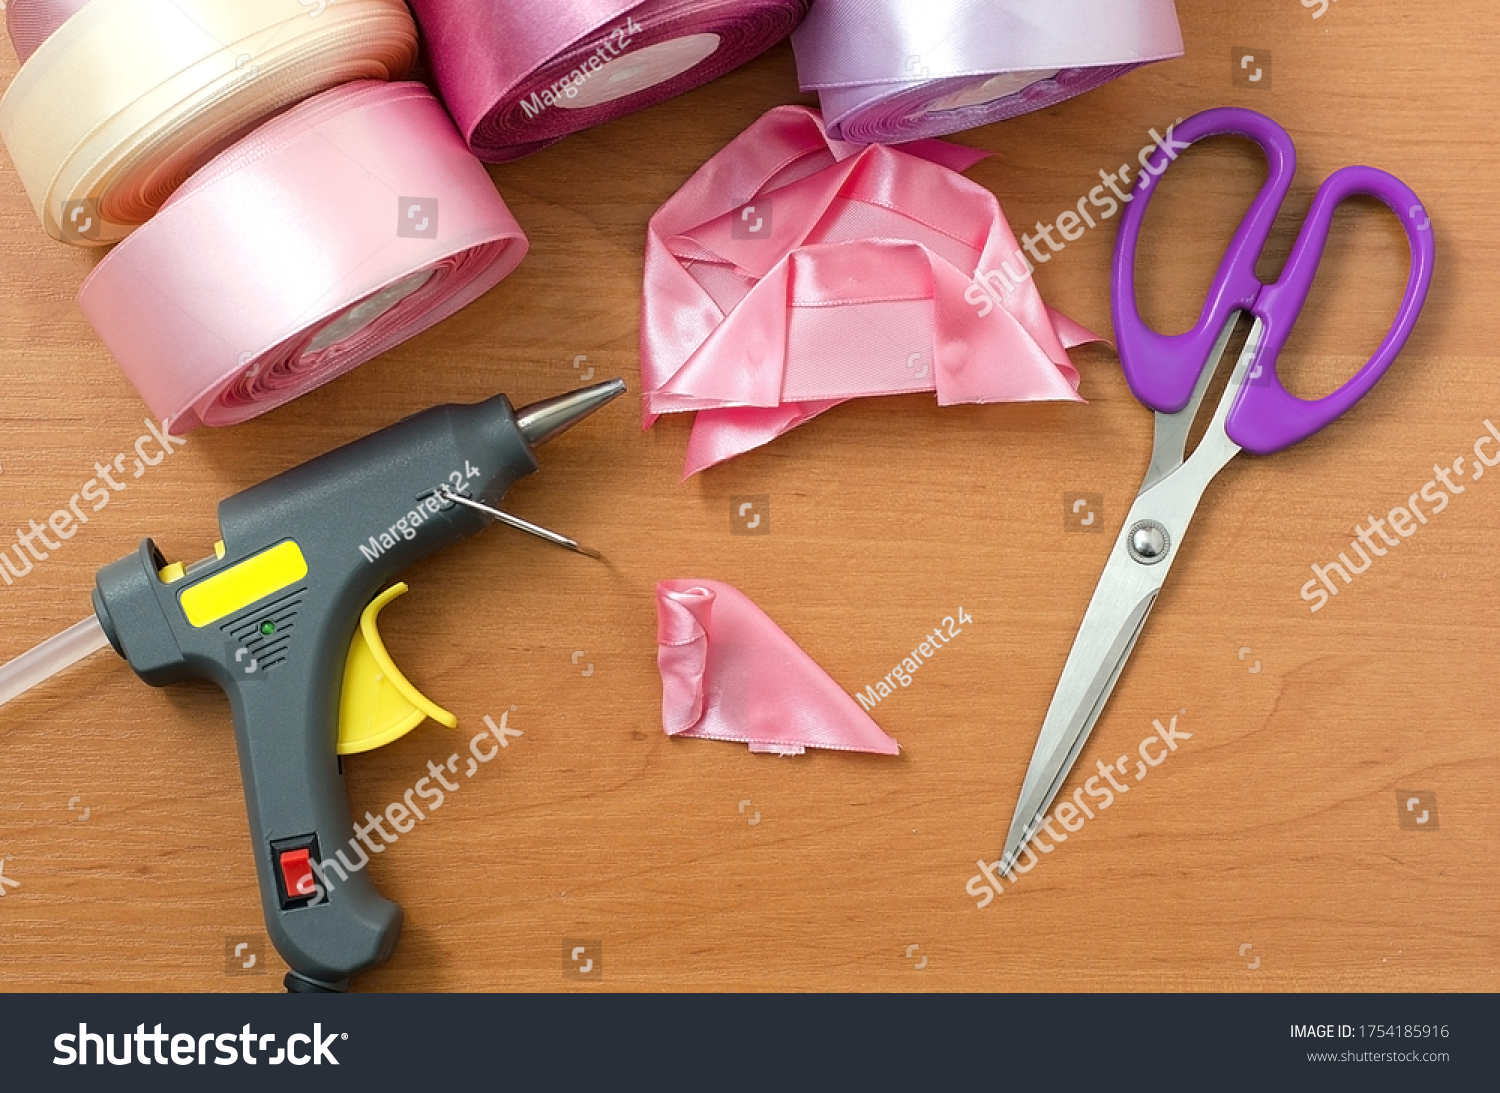
To get started, you’ll need a few essential tools and materials. These include fabric ribbons (satin or grosgrain work best), floral wire, scissors, a hot glue gun, and floral tape. Additionally, having a pair of needle-nose pliers can make the process smoother, especially when working with floral wire. Understanding these basics will set the stage for creating a stunning DIY ribbon rose bouquet step-by-step guide.
How to Select the Right Materials for Your Bouquet?
Selecting the right materials is crucial for ensuring the success of your ribbon rose bouquet. The type of ribbon you choose will significantly impact the final appearance and durability of your roses. Satin ribbons are a popular choice due to their smooth texture and elegant sheen, while grosgrain ribbons offer a more textured look with a matte finish.
Choosing the Ribbon Width
The width of the ribbon plays a vital role in determining the size of your roses. For smaller roses, opt for ribbons that are 1-2 inches wide. If you’re aiming for larger, more dramatic roses, choose ribbons that are 3-4 inches wide. Keep in mind that wider ribbons require more material, so plan accordingly if you’re working on a budget.
Color Selection and Coordination
When selecting colors, consider the occasion and the recipient’s preferences. For weddings, pastel shades like blush pink, ivory, and lavender work beautifully. For birthdays or anniversaries, bold colors like red, royal blue, or emerald green can add a vibrant touch. You can also mix and match colors to create a bouquet that complements the theme of the event.
Read also:Uncut Bold Webseries The Ultimate Guide To Bold Storytelling
Step-by-Step Guide to Making a Ribbon Rose
Now that you’ve gathered your materials, let’s dive into the step-by-step process of creating a ribbon rose. This guide will focus on the spiral rose technique, which is one of the most popular and beginner-friendly methods.
Step 1: Cutting the Ribbon
Start by cutting a length of ribbon, approximately 12-18 inches long. The exact length will depend on the size of the rose you want to create. Once cut, heat-seal the edges of the ribbon using a lighter to prevent fraying.
Step 2: Creating the Center of the Rose
Take one end of the ribbon and fold it into a small triangle. This will form the center of your rose. Secure the triangle with a dab of hot glue, then wrap the ribbon tightly around the center. Continue wrapping until you’ve created a small bud.
Step 3: Forming the Petals
To create the petals, fold the ribbon into a series of loops. Each loop should be slightly larger than the previous one to mimic the natural shape of a rose. Secure each loop with hot glue as you go. Repeat this process until you’ve reached the desired fullness.
Step 4: Attaching the Stem
Once your rose is complete, attach a piece of floral wire to the base using floral tape. This will serve as the stem of your rose. Wrap the entire stem with floral tape to give it a polished look.
How Can You Assemble a Stunning Bouquet?
Assembling your ribbon rose bouquet is where your creativity truly shines. Start by arranging the roses in a way that feels balanced and visually appealing. You can group similar colors together or mix and match for a more eclectic look.
Adding Greenery
Incorporating greenery, such as faux leaves or eucalyptus sprigs, can enhance the natural look of your bouquet. Attach these elements to the stems using floral tape or wire.
Securing the Bouquet
Once you’re happy with the arrangement, secure the bouquet with floral tape or a decorative ribbon. This will keep the roses in place and add an extra touch of elegance.
What Are the Best Ways to Customize Your Bouquet?
Customization is where you can truly make your bouquet unique. Consider adding embellishments like pearls, beads, or glitter to give your roses a personalized touch. You can also experiment with different ribbon textures and patterns to create a one-of-a-kind design.
Experimenting with Ribbon Types
Try using patterned ribbons, such as polka dots or stripes, for a playful look. Alternatively, opt for sheer ribbons to add a touch of delicacy.
Incorporating Seasonal Themes
For a seasonal twist, incorporate elements like pinecones for winter or sunflowers for summer. This will make your bouquet feel timely and relevant.
How to Add Finishing Touches to Your Ribbon Rose Bouquet?
The finishing touches are what elevate your bouquet from good to stunning. Consider wrapping the stems in decorative paper or fabric for a polished look. You can also add a personalized tag or note to make the gift even more special.
Adding a Bow
A beautifully tied bow at the base of the bouquet can serve as the perfect finishing touch. Choose a ribbon color that complements the roses for a cohesive look.
Presenting the Bouquet
When presenting your bouquet, consider placing it in a decorative vase or gift box. This will not only protect the roses but also make the presentation more memorable.
Common Mistakes to Avoid While Making Ribbon Roses
While creating your DIY ribbon rose bouquet, it’s important to be mindful of common pitfalls. One frequent mistake is using ribbons that are too thin, which can result in flimsy roses. Another is applying too much glue, which can make the roses look messy. Always work patiently and take your time to ensure precision.
Frequently Asked Questions About DIY Ribbon Rose Bouquets
Can I Use Any Type of Ribbon?
While you can experiment with different ribbon types, satin and grosgrain ribbons are the most recommended for ribbon roses due to their durability and texture.
How Long Does It Take to Make a Bouquet?
The time required depends on the size of the bouquet and your level of experience. On average, it can take anywhere from 2 to 5 hours to complete a medium-sized bouquet.
Are Ribbon Roses Suitable for Outdoor Events?
Yes, ribbon roses are ideal for outdoor events as they are weather-resistant and won’t wilt like fresh flowers. Just ensure they’re stored properly before the event.
Conclusion
Creating a stunning DIY ribbon rose bouquet is a rewarding and enjoyable project that anyone can master. By following this step-by-step guide, you’ll be able to craft a bouquet that’s not only beautiful but also meaningful. Whether you’re making it for a special occasion or as a personal keepsake, the possibilities are endless. So, gather your materials, unleash your creativity, and start crafting your masterpiece today!
For more inspiration, check out this external link to Craftsy, where you’ll find additional tips and tutorials on crafting ribbon roses.